Protecting my SVS with The Super-Dynamo Tube Speaker Shield-o-Matic.
Design Purpose:
to prevent my toddler from pawing, scratching, or otherwise abusing my SVSMaterials
(from Lowes):12: ¾ inch dowels, 48 inch long. (Allows 5 inch spacing at ends and 4 inch spacing for the rest ie 54444444445, as you go around)
2: bags ¾ wood 'buttons', 8 pieces per bag. Bag says "No. 1696" on it. Fit matches 'well enough' but not perfectly.
1: bag of " wide x 3/4 inch thick x 17 feet long nail-on, reinforced Rubber Gasket Weather Stripping, from Frost King
1: wound 'tube' of ¼ inch mesh, 10 foot long and 36 inch high Gardenplus Galvanized Hardware Cloth. (in the garden section; not really cloth at all - it is wire mesh.
3: Cans Valspar flat black spray paint. Nasty stuff. Lucky I had a good mask to use.
Lots: ½ inch staples for staple gun
Approx cost $45 (maybe it was $60, I dunno, I wasn't there).
Approximate Method
:Relevant dimensions of the SVS 16-46 Speaker: it is about 16.5 inches around and 46.5 inches high. The fabric starts about 2-7/8th off the ground, with a 1" thick baseplate and 1-7/8th tall dowels. Also: The amp starts 8-7/8th" off the ground...and the amp face is about 11.5" tall and 9" wide(adjusting for the curvature of the enclosure - this is from Tom V; not sure what it means).
I cut 1.25 inches off the dowels and cut a 46 inch length of mesh (note that the circumference is more like 57 inches, but I left a gap of 11 inches in the shield to access the PCI amp. Perhaps one might want to design a more elegant "door" to the amp but since my PCI is in the corner, that placement protects it.
Mark the dowels to start the mesh about 3.25 inches up from the bottom. I used twist ties to show where on the tops and bottoms of the mesh the dowels should go (with spacing as per above). I then lined up the first dowel (actually, I started 1 dowel in, and started stapling. Push hard and staple every 2-3 inches or so - just use the same distance for each dowel. Go through the middle, so the staples don't push through. Then cut lengths of the rubber gasket for the tops and sides of the shield. Staple the gasket around to cover rough edges of the mesh. Make sure at the side ends that the mesh is stapled on the very top of the dowel to keep it a maximum distance away from the speaker fabric.
Spray paint the whole thing black, and it blends quite nicely, really. Wrap it around the speaker. If you want you, can tie it in place using the top and bottom of the rear dowels, or wire it together between eyelets.
Results:
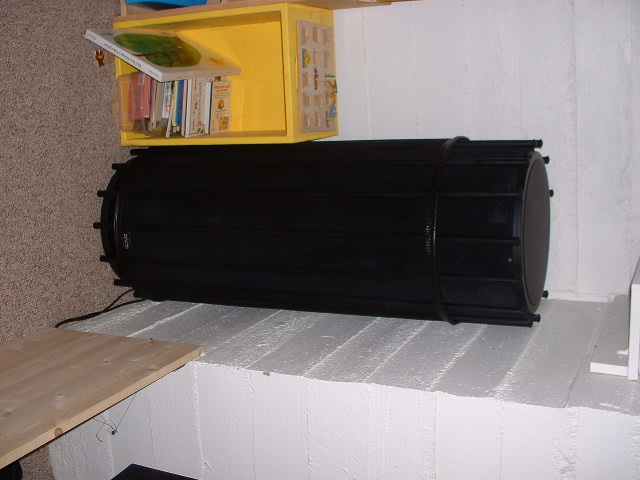
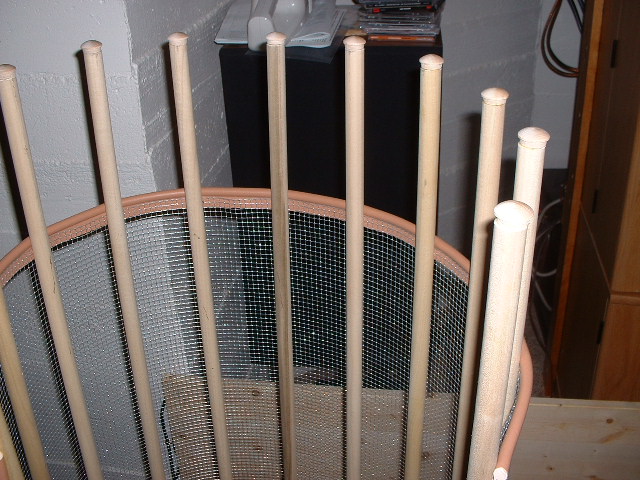
It works well and as designed. My kid heads for it, and I don't care. The dowel spacing I used keeps the mesh well away from the speaker, and keeps the mesh taught and pretty unbendable. The ¼ inch mesh can not be penetrated by a small finger or crayon. Twelve dowels means that there is not much pressure on the speaker at any given point.Photos:
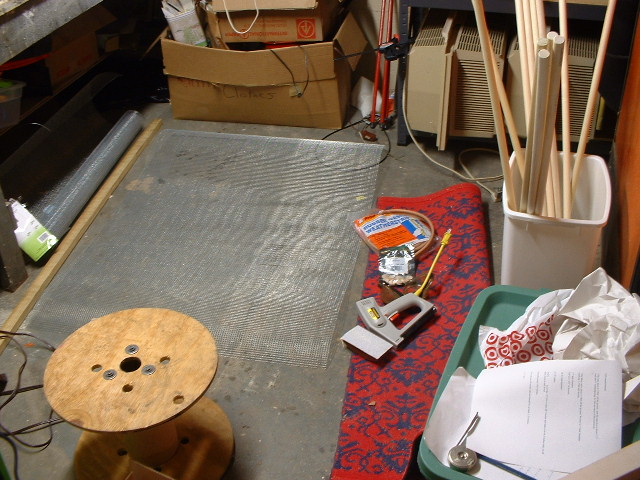
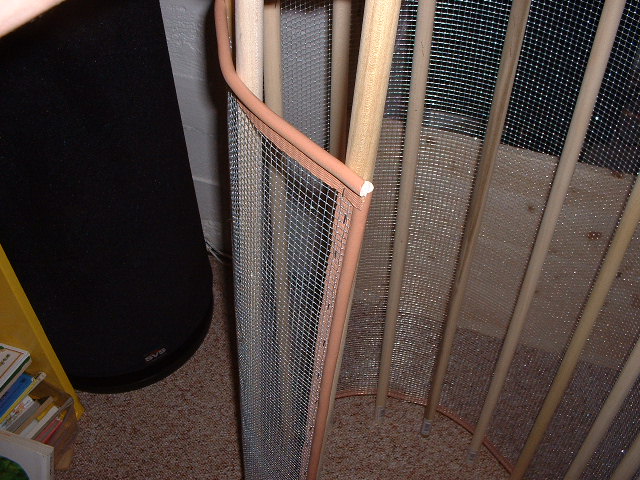
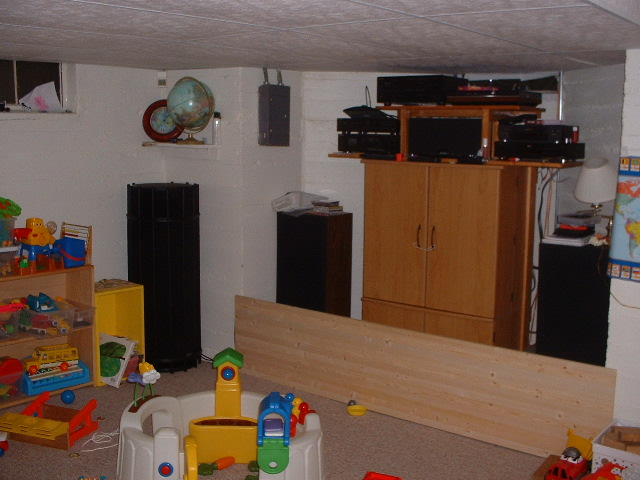
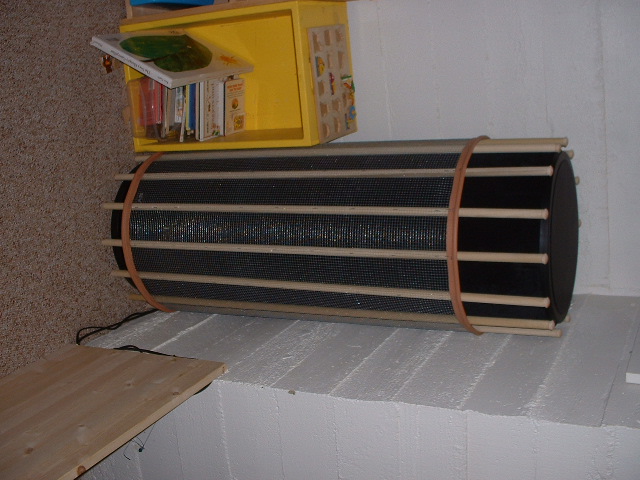
The first is the materials laid out in the workroom. The next two show some construction details. The next is the threat environment. Note the kiddy barrier protecting the TV and mains. The last two show the The Super-Dynamo Tube Speaker Shield-o-Matic in action. The first is before painting, and the second, although quite a dark photo, does show the pretty good color matching of the black spray painted shield and the speaker fabric. I did the spray painting outside, not while the SDTSSM was around the speaker!!